Syncing your overlay with the video
Once you select a GPX file, the next step shows the activity chart. Above the chart, select the video from your activity. It is there so you can pick the right timeframe. The video is not uploaded — it stays in your browser.
The camera date needs to be right. On your computer, check Date Modified.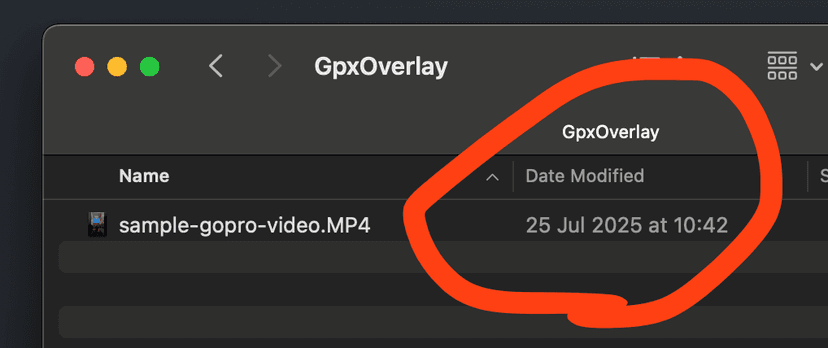
When it matches
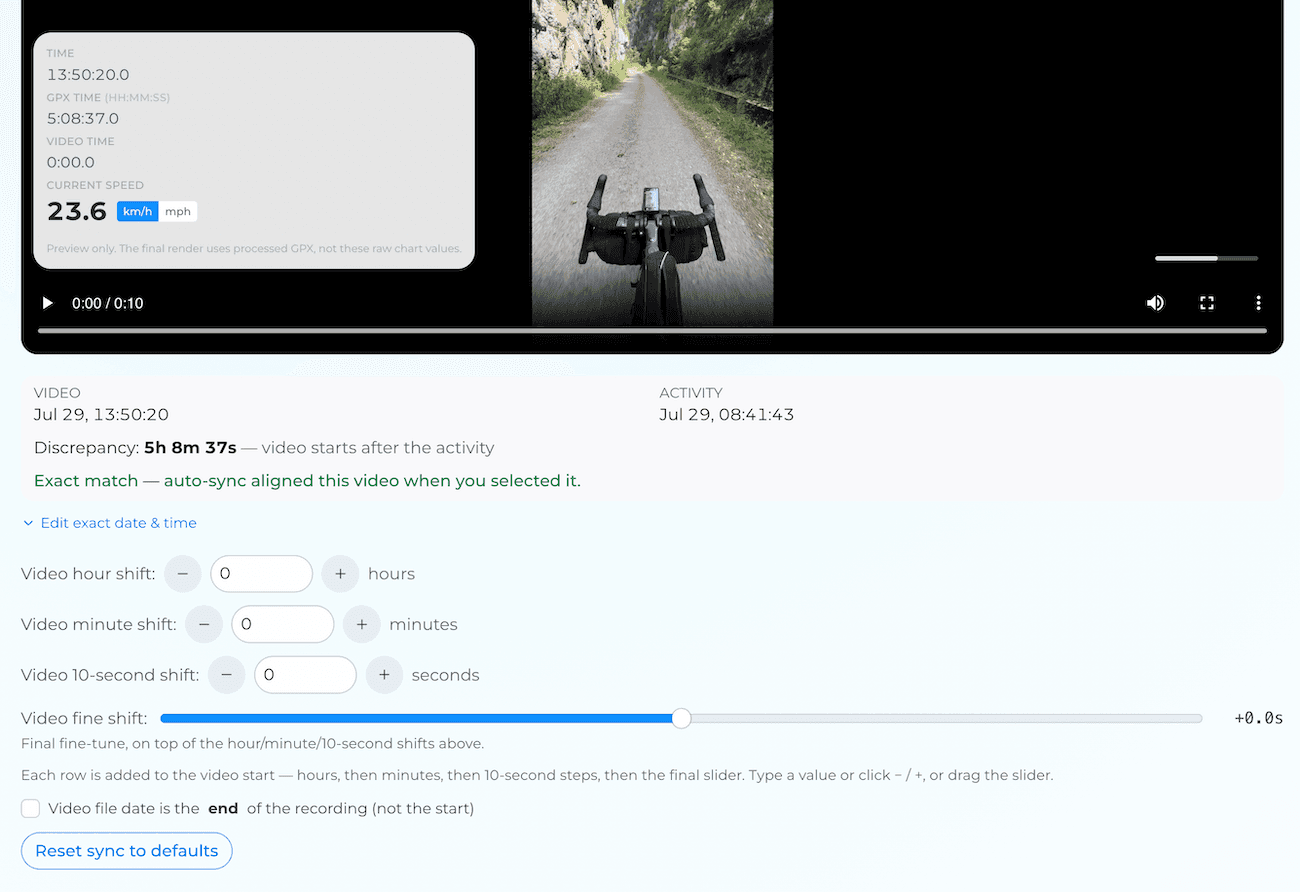
If there is an exact match, you will see: Exact match - auto-sync already selected a correct timeframe. Fine tune if needed.
If the match is only partial, or there is no match, use the controls to pick the timeframe.
How automatic synchronization works
Controls
Over the video, a preview shows the offset and an approximate speed for that moment. The speed is a preview. The final render is smoother.
- Hour, minute, and 10-second shifts — type a value or click − / +.
- Fine shift — the last fraction of a second, in 0.5 s steps, on top of the shifts above.
- Edit exact date & time — for a large mismatch, such as a wrong time zone or a wrong camera clock. Set the time, then fine-tune with the other controls.
- Reset sync to defaults — back to the timing from when you picked the file.
While a video is attached, dragging a range on the chart is off. Remove the video if you want to select the range by hand from speed and elevation on the chart.
After the sync
- Proceed to the next step and set up the overlay.
- Import the generated overlay and your original activity video into your editor.
- Put the overlay on a track above the activity video. The lengths should be close. Check the alignment; a small nudge in the editor is sometimes still needed.